AWS Lambda Tutorial: Step by step instructions to create a scalable web application – Part 4
Arunbalan
January 27, 2016

Configuring Amazon API Gateway and finishing application
STEP 1: CONFIGURING THE APIS.
Now your lambda functions are ready and functioning. The next step is to enable them to access from the Amazon API Gateway and pass the necessary parameter to each Lambda function.
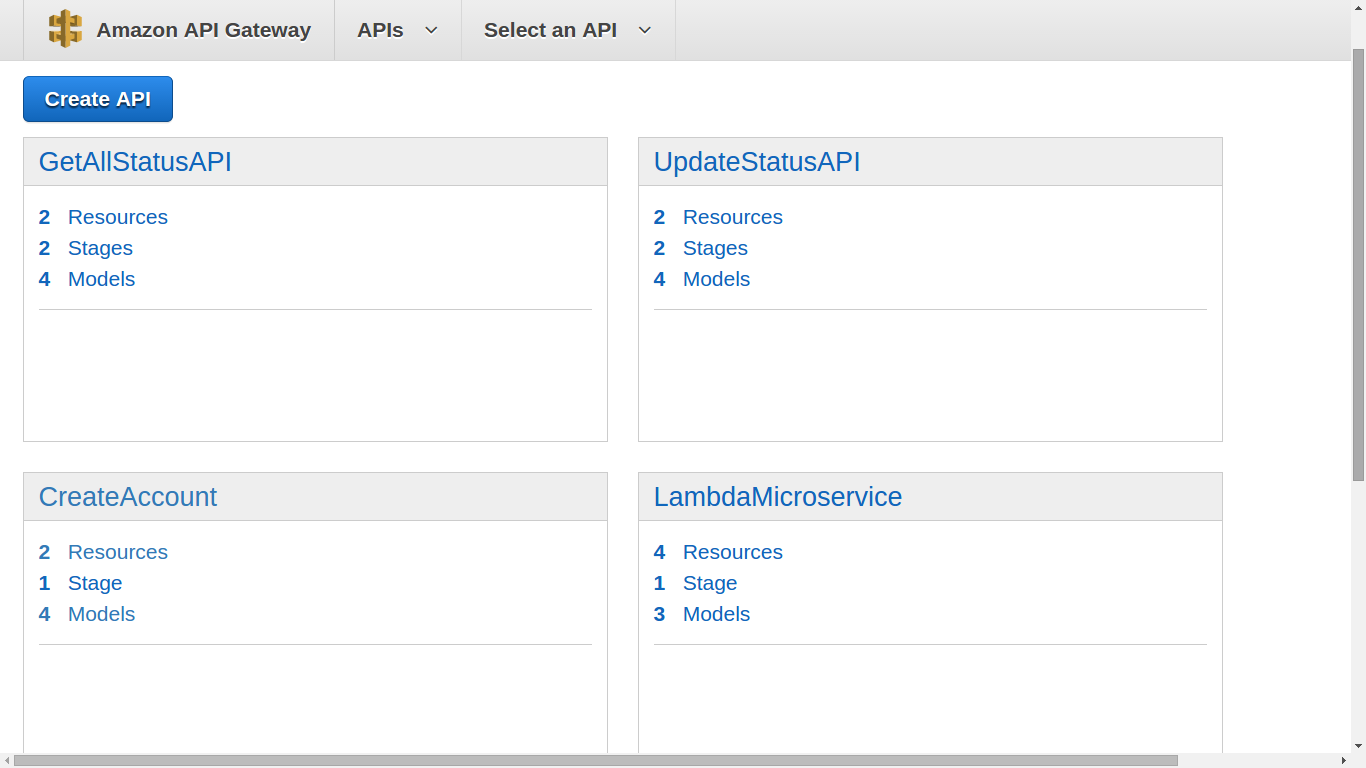
In the same page where you upload your lambda function click the Get method under the API endpoints tab. Then it directs you to a new page where you can configure your API. A new page will appear as below. Click on your API (for example – CreateAccount ).
 In API Gateway, a mapping template is used to transform some data from one format to another. You create and use input mapping templates when you need to inform API Gateway about the schema of the data that is given to lambda function and you can use output mapping templates for output of the lambda function. You can create models that enable API Gateway to make it easier for you to create mapping templates.
- Click on the GET method under the Resource tab. You will get a screen like below image.
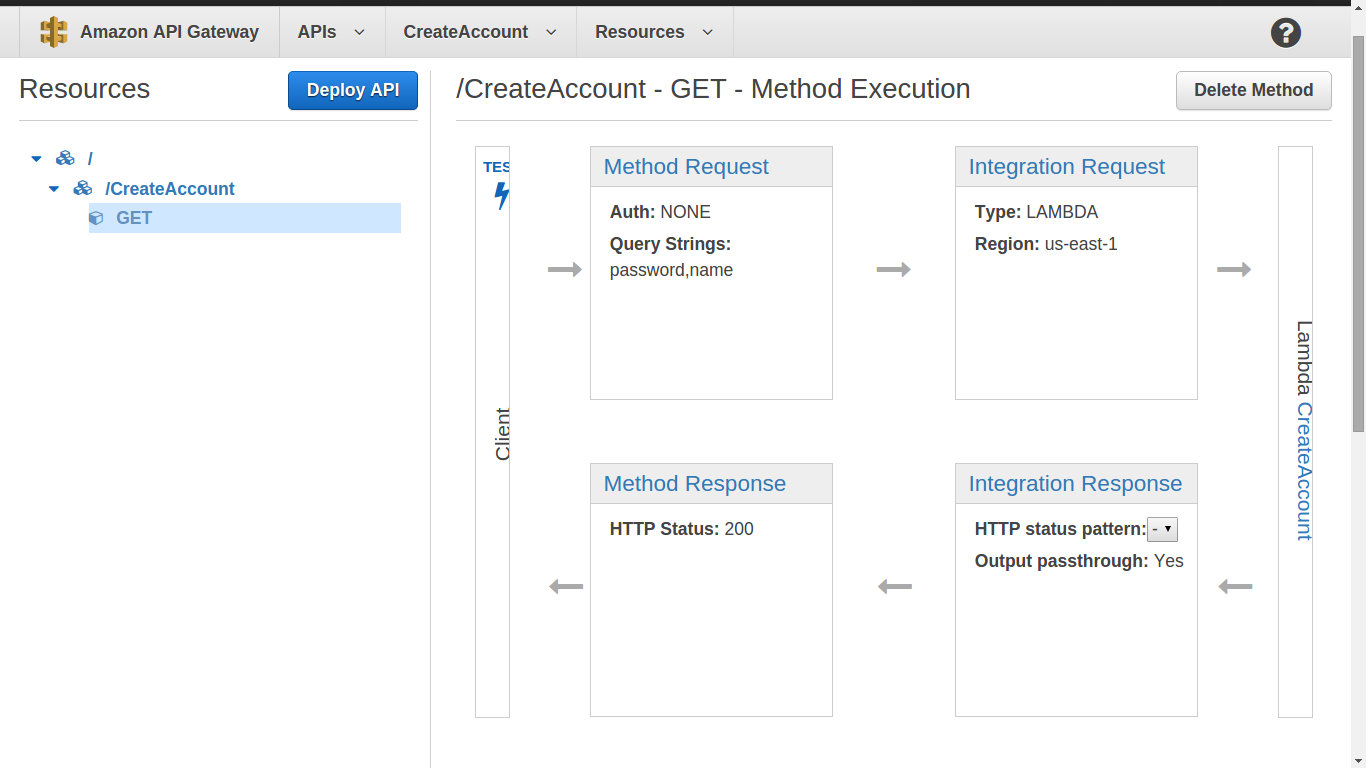
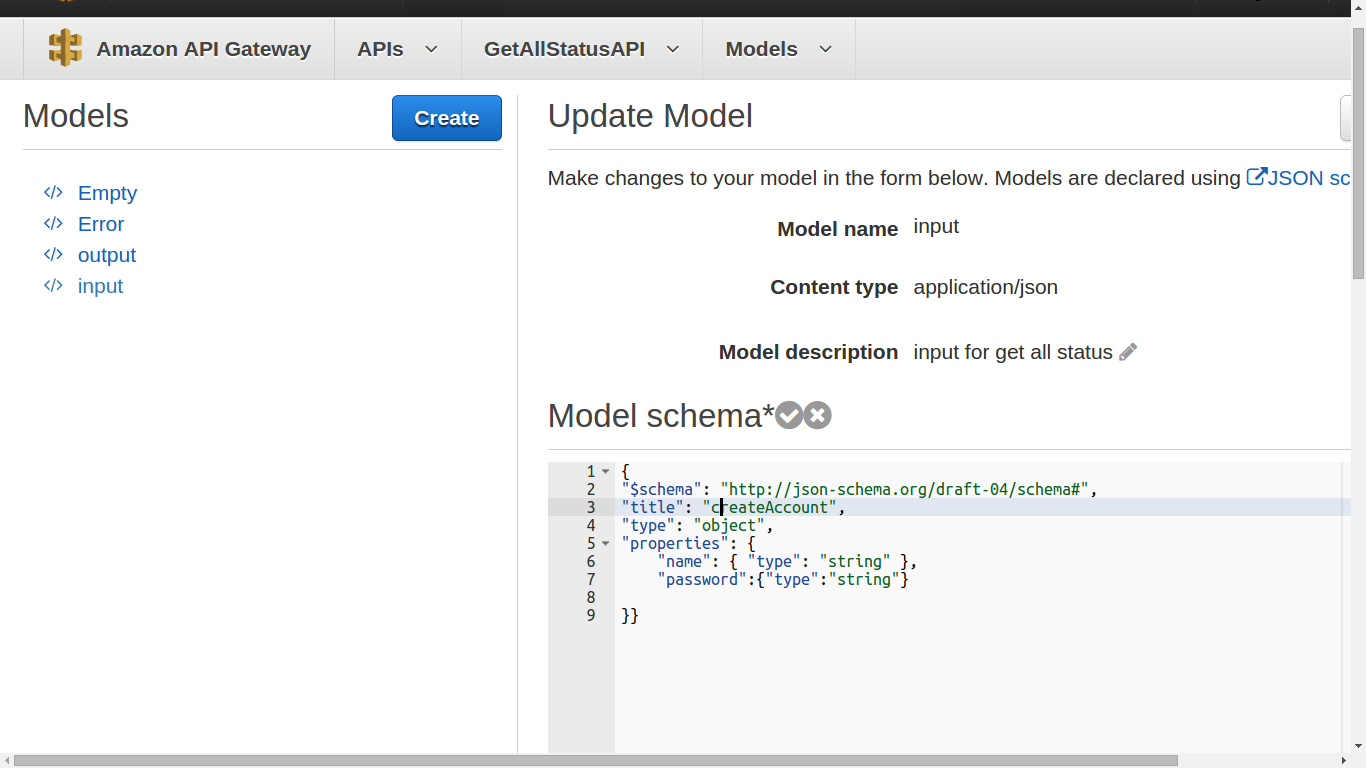
- Select Method Request from the first box to set the URL Query String Parameters and input model. Click Add query stringunder the URL Query String Parameters section. Enter two parameters name and password click and submit . Then set the input model by clicking Add Model, then a new screen will display. Enter the model name as Input Model. In the edit field type the code provided below
      {
        "$schema": "http://json-schema.org/draft-04/schema#",
        "title": "CreateAccount",
        "type": "object",
        "properties": {
                       "name": { "type": "string" },
                       “password”: {“type”:”string”}
                      }
      }
Note: Here in this example we are giving two parameters under the properties key, because this model is using for CreateAccountfunction’s API configuration. In order to do the same for UpdateStatus function API we needed to include one more parameter inside the properties. The third parameter is the status parameter.
- Next Select the Integration Request block and Select the Integration type as Lambda Function, Then Select your lambda function name. You can create a Mapping template under the mapping template section. Under the Content-type tab add application/json and submit. Add codes to mapping template edit window. The sample code is given below.
     {
       "name": "$input.params(‘name)",
       “password”: “$input.params(“password”)”
     }
Now the parameter query string parameter is passed to the here and a new json formatted body is created.
- Now the parameter required for the lambda function is converted to the well formatted json content. Lambda will pass all parameters after making it as string using JSON.Stringify method. So we need to capture the result and change it into the desired format as we needed.
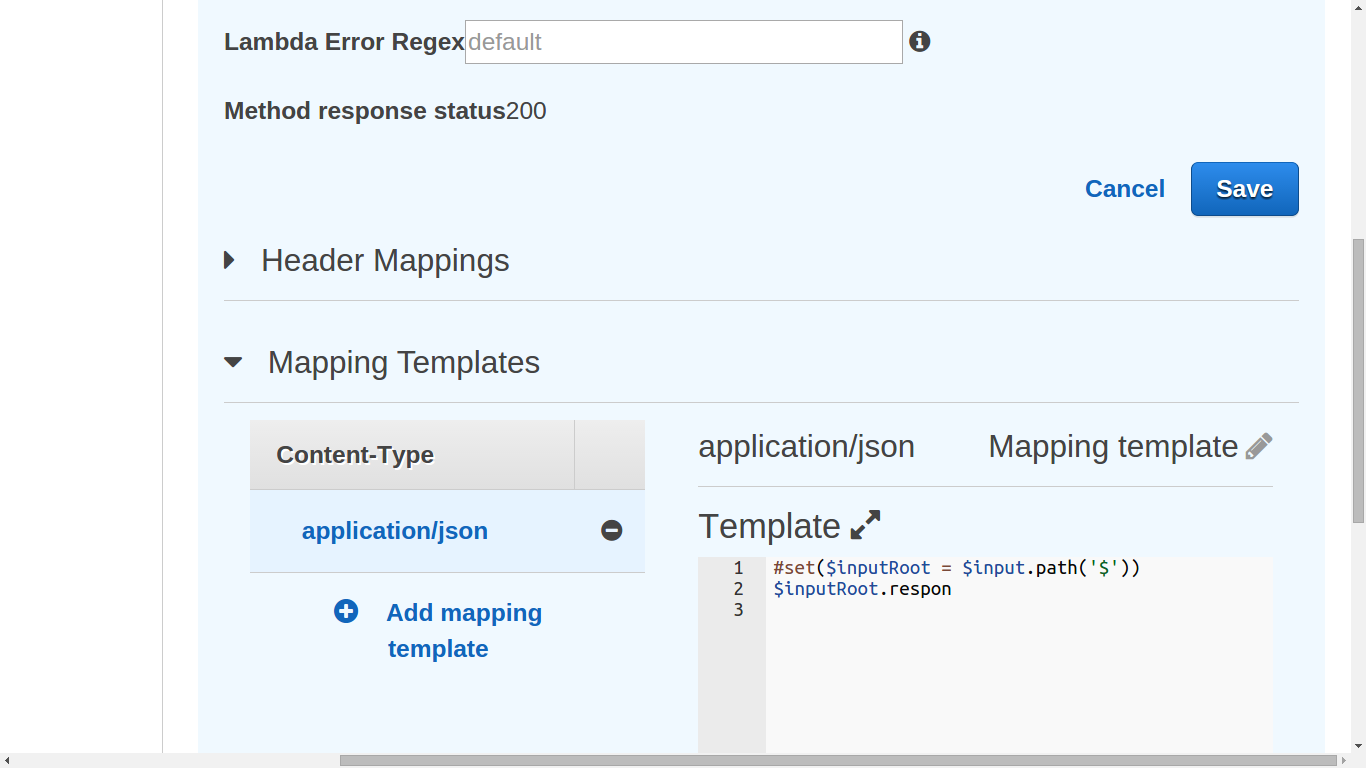
Select Integration Response section to create an output mapping template. It is similar to the template that we did in Integration Request to create input mapping template. Select the Content-Type as application/json. The HTML page is stored inside a variable. That same string we needed to capture from the lambda function. Follow the code given below
      #set($inputRoot = $input.path('$'))
      $inputRoot.respon
- The result is now in JSON format. We need to convert its Content-Type into text/html in order to get an HTML page as output. Otherwise there should be quotes outside the HTML codes.
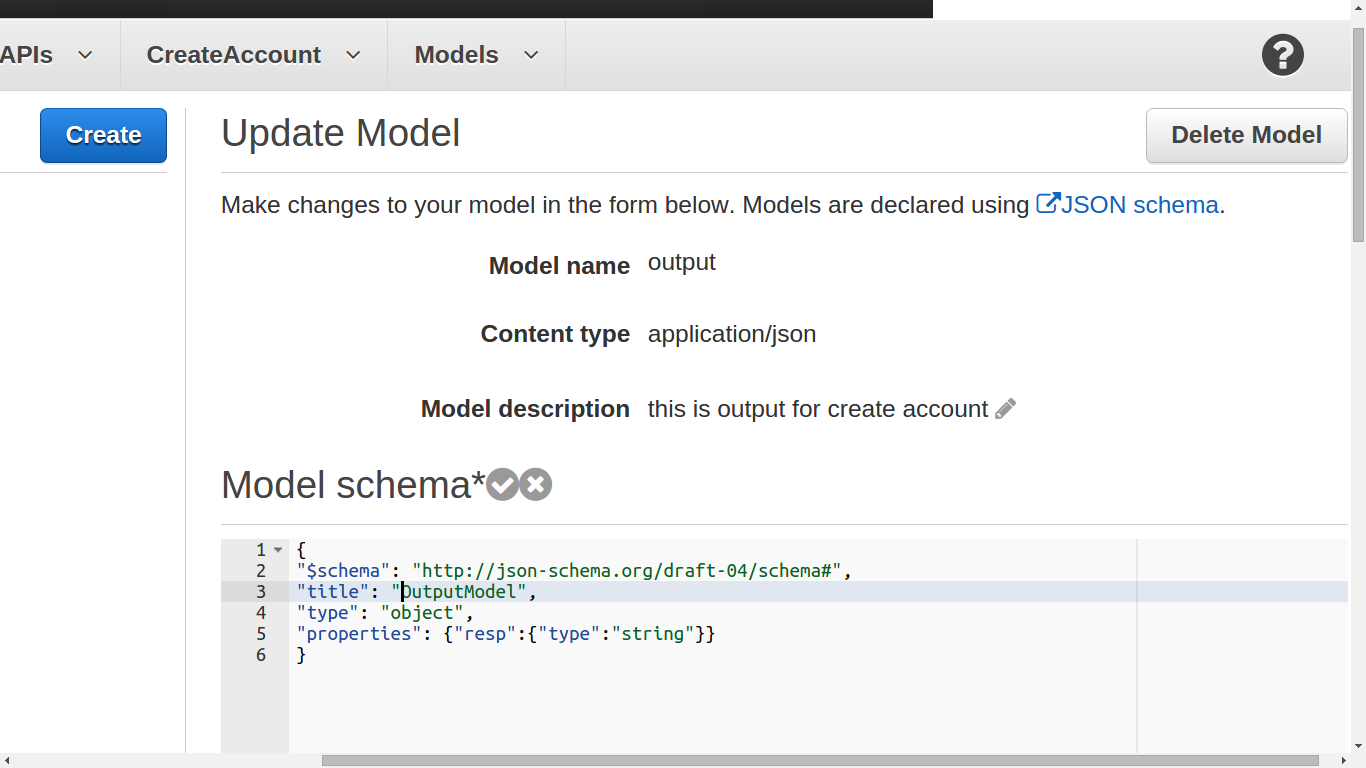
- Select Method Response section and add a response model add Content-Type as text/html and create an output model.
- Enter the output model format in the text field. Example code is given below
     {
        "$schema": "http://json-schema.org/draft-04/schema#",
        "title": "OutputModel",
        "type": "object",
        "properties": {
                        "resp":{"type":"string"}
                      }
     }
- Do the same steps for the other two functions UpdateStatus and getAllStatus . The only difference is that there is an additional parameter required for the UpdateStatus , ie status . So we should add name,password and status in the URL Query String parameter field of Method Request section. And create a request model and name it as Input then add the input model as the following datas. the only difference from the previous API configuration(CreateAccount) is the presence of status parameter.
      {
       "$schema": "http://json-schema.org/draft-04/schema#",
       "title": "updateStatus",
       "type": "object",
       "properties": {
                       "name": { "type": "string" },
                       "password":{"type":"string"},
                       "status":{"type":"string"}
                     }
      }
Add the following template datas in the Integration Request section.
      {
       "name": "$input.params('name')",
       "password":"$input.params('password')",
       "status" : "$input.params('status')"
      }
The getAllStatus API configuration is same as that of CreateAccount function.
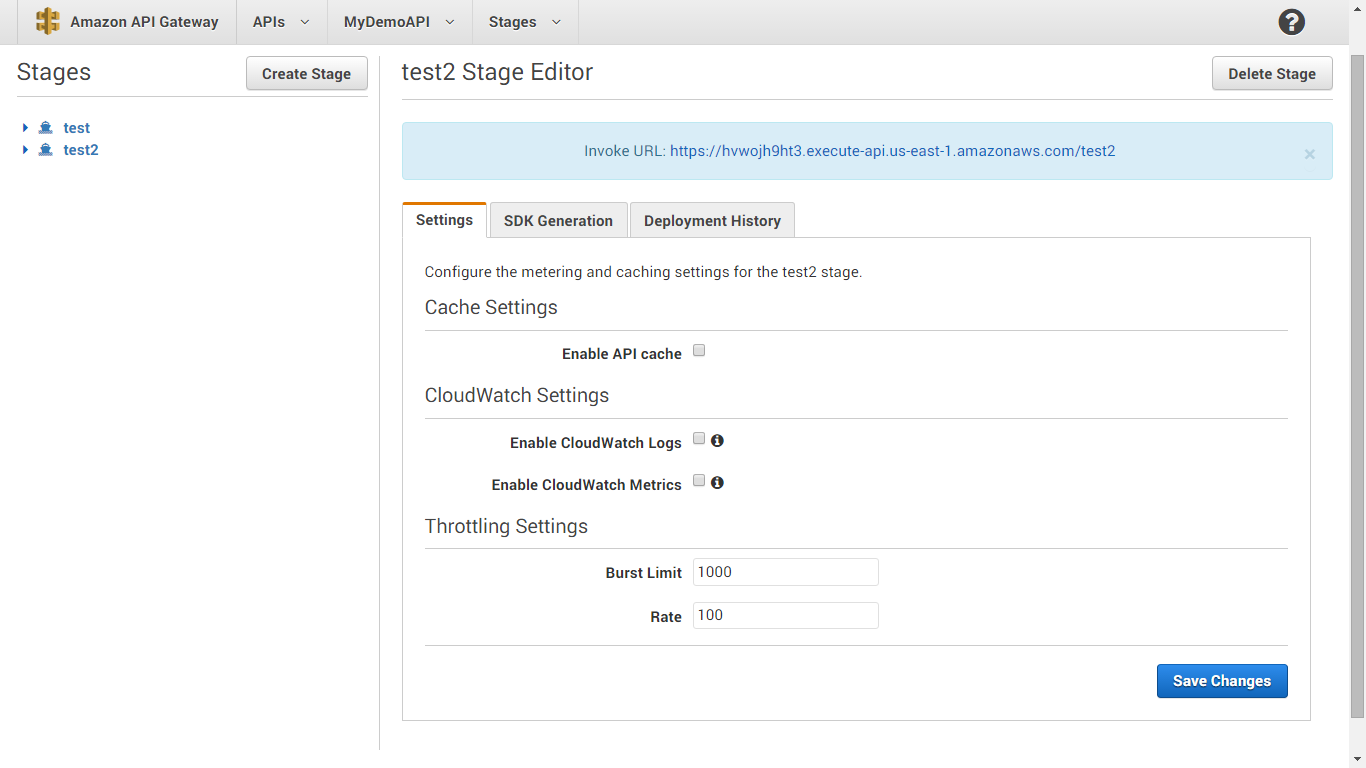
Now the models and mapping templates are ready to use. Next step is deploying the API. There is a button called Deploy APIclick on it. Select a deployment stage and deploy the API . Then you can configure Cache settings, CloudWatch settings and Throttling settings. Invoke url will be displayed on the top of the screen.
- Now the models and mapping templates are ready to use. Next step is deploying the API. Select a deployment stage and deploy it . Then you can configure Cache settings, CloudWatch settings and Throttling settings. Invoke url will be displayed on the top of the screen.
- Note down the invoke url. we will send the request to this url from our application.
STEP 2 : CREATE WEB INTERFACE AND UPLOAD IT TO AMAZON S3
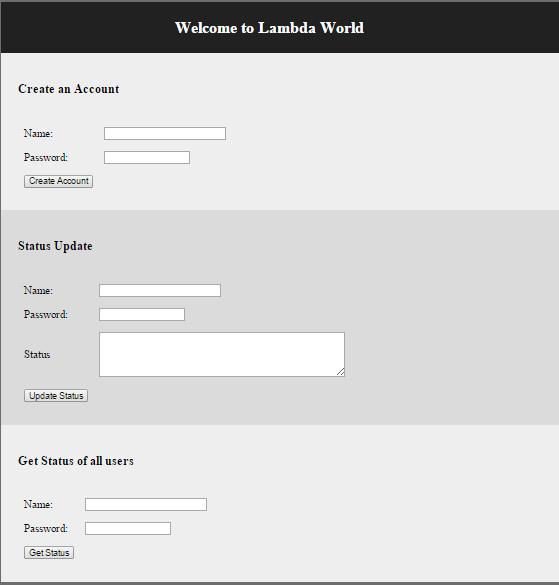
- Everything is ready, now we can invoke the lambda function from a browser by sending the parameter with the invoke url. The sample application interface is located in following link
- https://s3.amazonaws.com/lambdapackage/LambdaAppFinal/index.html . the code is available herehttps://github.com/Nethram/LambdaDemoApplication/blob/master/index.html
- Create the application interface. you can refer the given html markups. In index.html file we have given action url of our API endpoint. Replace it with your invoke URL.
- So the next step is to upload the application interface file to the aws S3. Amazon S3 ( Simple Storage Service ) is an online file storage and web service. The is an button named as Create Bucket. Click on it . The following window will appear.
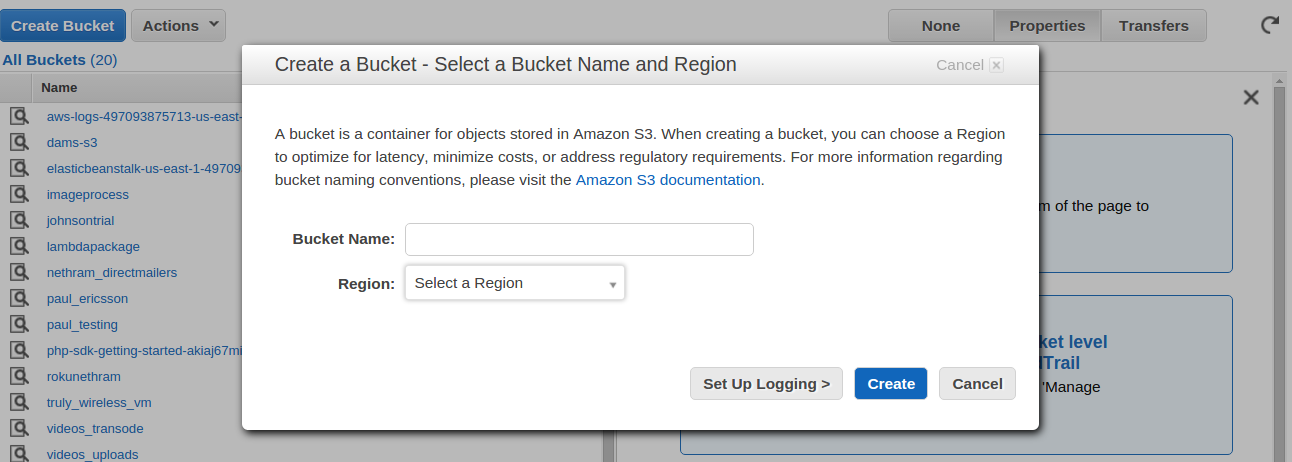 From the AWS console select S3 from the Storage and Content Delivery section.
- Give a name to it (example: lambdaApp) and select a region. Then press create button. Then on the next screen there is an option to upload files to S3. then upload the html file to it.
- After completing the upload. write click on the file and select Properties. Then a window will load on the right side of the page. Select Permission tab from the window. And select the Open/Download checkbox in the section where grantee name is set as everyone . Save the changes.
- Now the page is publically accessible. go to the page and check the functionalities of Your first Lambda Application.
- The lambda function updates the DynamoDB and RDS and it will return a HTML page to the browser.
Leave a Reply